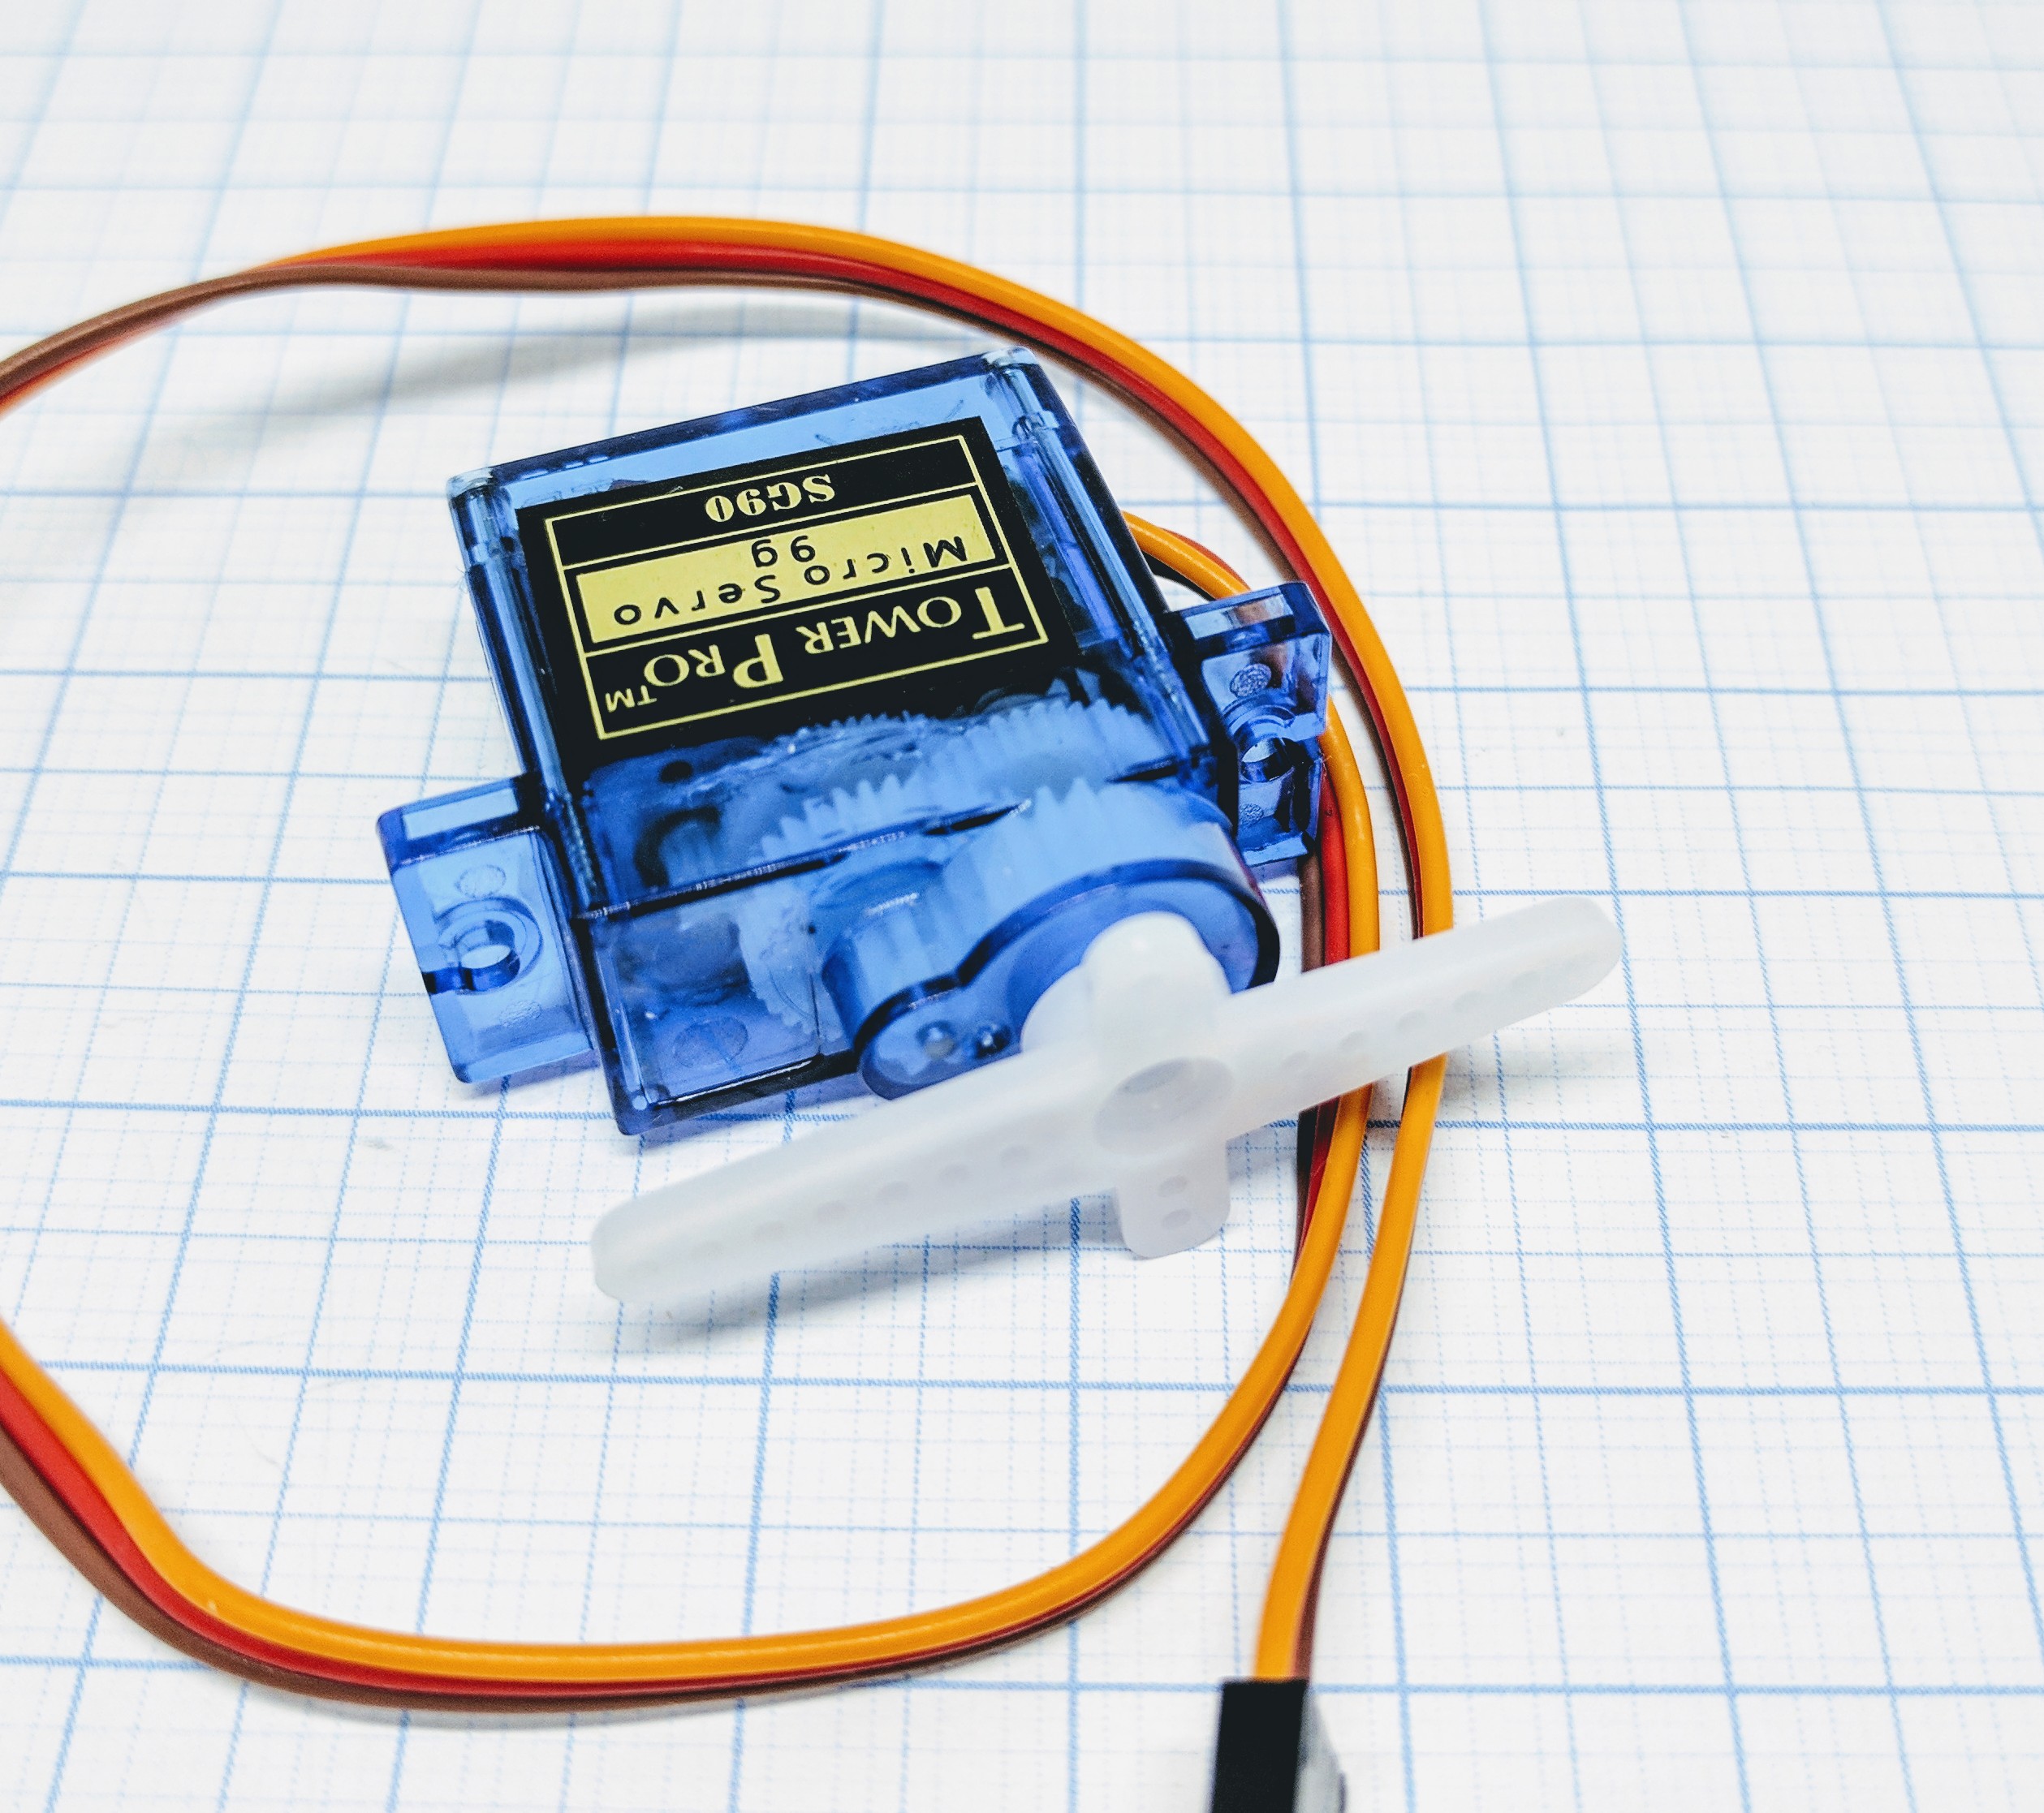
Servo motor
Internal GPIO handling NORMAL CLIMATE
Introduction
Usual servos can turn about 180° (90° in both directions from zero point). There are some rare servos with 270° turn. If you use a 180° type you may turn it 90° to the left or to the right.
Danger
Trying to turn a servo more then what it can handle will run the servo against a stopper inside the gear. As ESP Easy tries to go further the servo starts humming and gets hot, it will die over time.
The third type “continuous turn servo” is not supported at this time.
- Specifications:
Controlling servo motors using PWM
Wiring
ESP               Servo
GPIO (X)   <-->   S (signal)

Power
5.0V       <-->   VCC
GND        <-->   GND
Setup
No device is needed, generally you use rules to activate servos, or you send commands to activate them. Below you find more information on how to do this.
Rules examples
On Switch#State Do
 if %eventvalue1%=1
  Servo,1,12,-45
  Servo,2,14,45
 else
  Servo,1,12,0
  Servo,2,14,0
 endif
EndOn
This rule will tilt the servos 45° when the button is pressed, and it’ll go back to 0 once released.
Note
Events may be handled from an event queue, so by the time the event is being handled, the state of the switch can already be different.
Therefore it is best to use the state of the switch at the time the event was generated,using %eventvalue1% .
Indicators (recommended settings)
No device is needed.
Commands
Internal GPIO handling NORMAL CLIMATE
Supported hardware: Relay, Servo motor
Command (GPIO/Value) |
Extra information |
|---|---|
GPIO: 0 … <max supported GPIO pin> State: 2 (HIGH-Z, input) 1 (HIGH, output) 0 (LOW, output) |
Basic on/off.. We can control a pin with simple http URL commands. To change the pin to high or low steady output. Setting GPIO to 2 means that it will be able to detect low level relays (with high impedance, Z). |
GPIO: 0 … <max supported GPIO pin> |
Toggle on/off.. Toggle the current (output) state of the given GPIO pin. When executed, it changes the pin mode to output, for output-capable GPIO pins. |
GPIO: All GPIO pins with output capabilities State: 1/0 Duration low/high: 1 … 999 S Nr of Repeats: |
To send a *long* pulse to a certain pin.. A long pulse is basically the same as the plain pulse. Duration is defined in seconds, which makes it more suitable for longer duration. This command is not blocking, but will send 2 events to start and stop the pulse. This may have some variation depending on the system load of the module. Variation is typically up-to 10 msec, but may be up-to a second, depending on active plugins and controllers performing blocking operations. Changed: 2022/10/15
Example: |
GPIO: All GPIO pins with output capabilities State: 1/0 Duration low/high: 1 … 15000 msec Nr of Repeats: |
To send a (non blocking) *long* pulse to a certain pin. A Changed: 2022/10/15
Example: |
GPIO: All GPIO pins with output capabilities State: 1/0 Duration: 0 … 1000 msec |
To send a *short* pulse to a certain pin. Example to send an active high (1) pulse on GPIO 14 for 500 mSeconds. Pulse duration is in milliseconds. State is 1 or 0. N.B. this is a blocking call, meaning no other actions will be performed during the pulse. |
ESP8266 GPIO: 0 … 15 ESP32 GPIO: All GPIO pins with output capabilities Duty: 0 … 1023 Duration: 100 … 15000 msec (optional) Frequency: 100 … 40000 Hz (optional) |
To set a certain PWM level. If you have set a certain GPIO to a PWM level and want to use it as a regular HIGH/LOW pin you need to reset by setting the PWM level to 0. Duration (in msec) parameter will create a fading. Value of 0 will not set a duration. Frequency (in Hz) will be set to 1000 Hz when not given. Frequencies above 30 kHz are not stable and will likely crash the ESP. |
ESP8266 GPIO: 0 … 15 ESP32 GPIO: All GPIO pins with output capabilities Servo: 1/2 Position: -180 … 180 (see warning below) |
To control a servo motor.
Builds before 2020/11/22 only supported a maximum of 2 servos. Later builds allow more and no longer need the Warning Most servos are not able to turn full 360°! Normally the servos are able to go from -90° to 90°, some rare servos do allow for -135° to 135°. A position value of 9000 will stop the PWM signal. This can be useful to save energy on servos which do not need power to remain at the same position. |
GPIO: 0 … <max supported GPIO pin> |
To monitor a GPIO state. By the use of the command you will receive events when the GPIO state of that pin is changed from 1 to 0 and from 0 to 1. |
GPIO: 0 … <max supported GPIO pin> |
To cancel the monitor of a GPIO state. By the use of the command you will stop receiving events when the GPIO state of that pin is changed from 1 to 0 and from 0 to 1. |
GPIO: 0 … <max supported GPIO pin> |
Returns the status of a pin. By the use of the command you will receive the status of the relevant pin. |
Where to buy
Store |
Link |
|---|---|
AliExpress |
$ = affiliate links which will give us some money to keep this project running, thank you for using those.